
Help & Guide
Everything you need to run your trade or service business from your phone — and how to get it there.
What is Field Ops?
Field Ops is one simple app for the whole job: keep your customers and leads in order, send professional quotes, schedule and track the work, attach photos, and get paid — without the paperwork, the spreadsheet, or the bloated big-company software. Built by an Army vet who's worked the civilian trades — for trades and service businesses alike.
The workflow
Everything moves left to right, from a lead to money in the bank:
- 1. Customer — add the person who called (or a lead you’re chasing).
- 2. Quote — build an itemized estimate and send it by text or email. They accept it online.
- 3. Job — an accepted quote becomes a job. Put it on the calendar and assign your crew.
- 4. Do the work — track time, snap before/after photos, attach files right to the job.
- 5. Get paid — send an invoice or take a card, then ask for a Google review in one tap.
Using the app
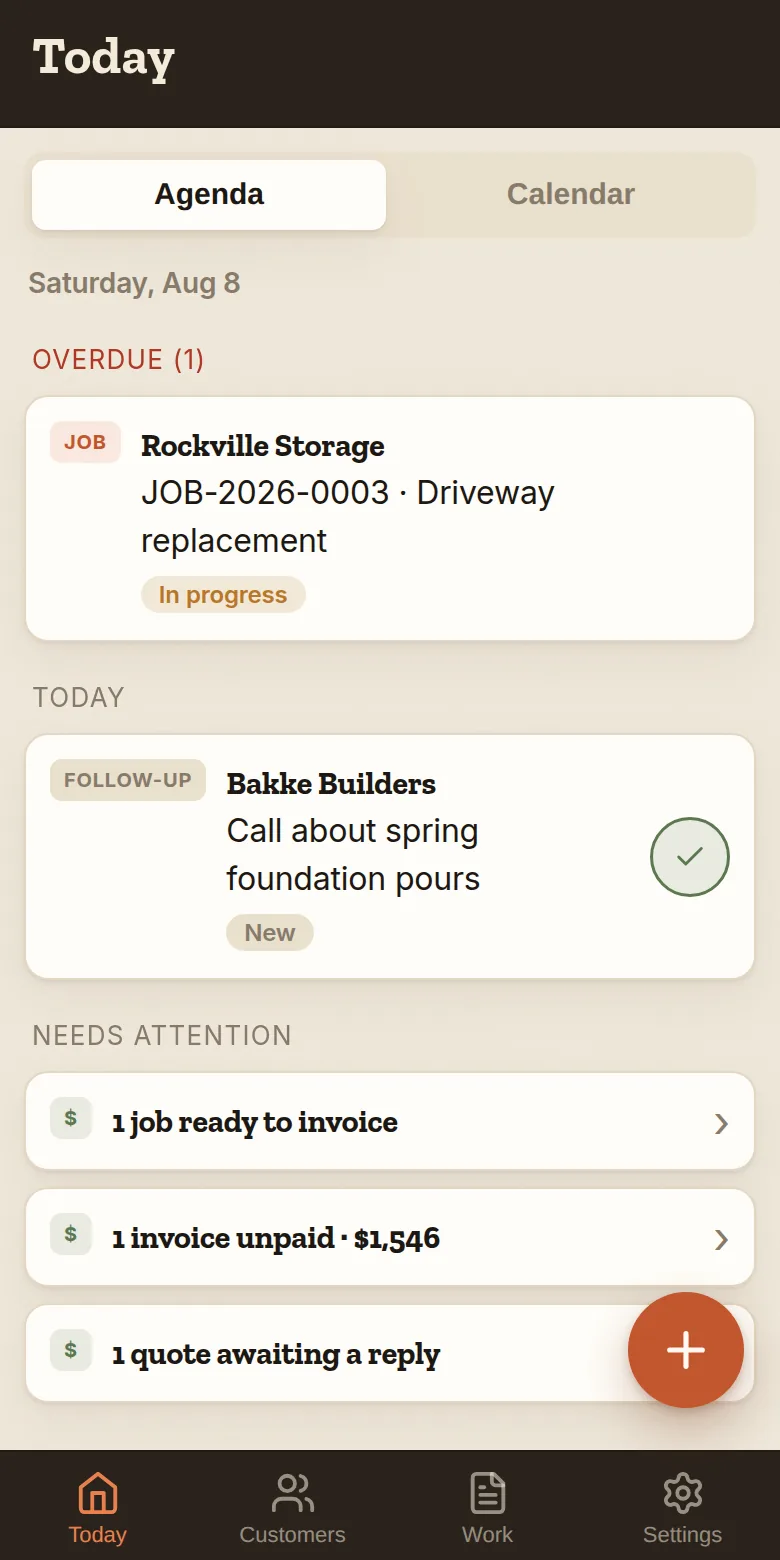
You’ve got four tabs along the bottom, and a + button that adds whatever you’re looking at.
- HomeWhat’s due, overdue follow-ups, and today’s jobs at a glance.
- CustomersEvery customer and lead. Tap one to see their history, log a call, or start a quote. Search up top.
- JobsYour quotes and jobs, from first quote to paid. Filter by Active, Quotes, Scheduled, or Paid.
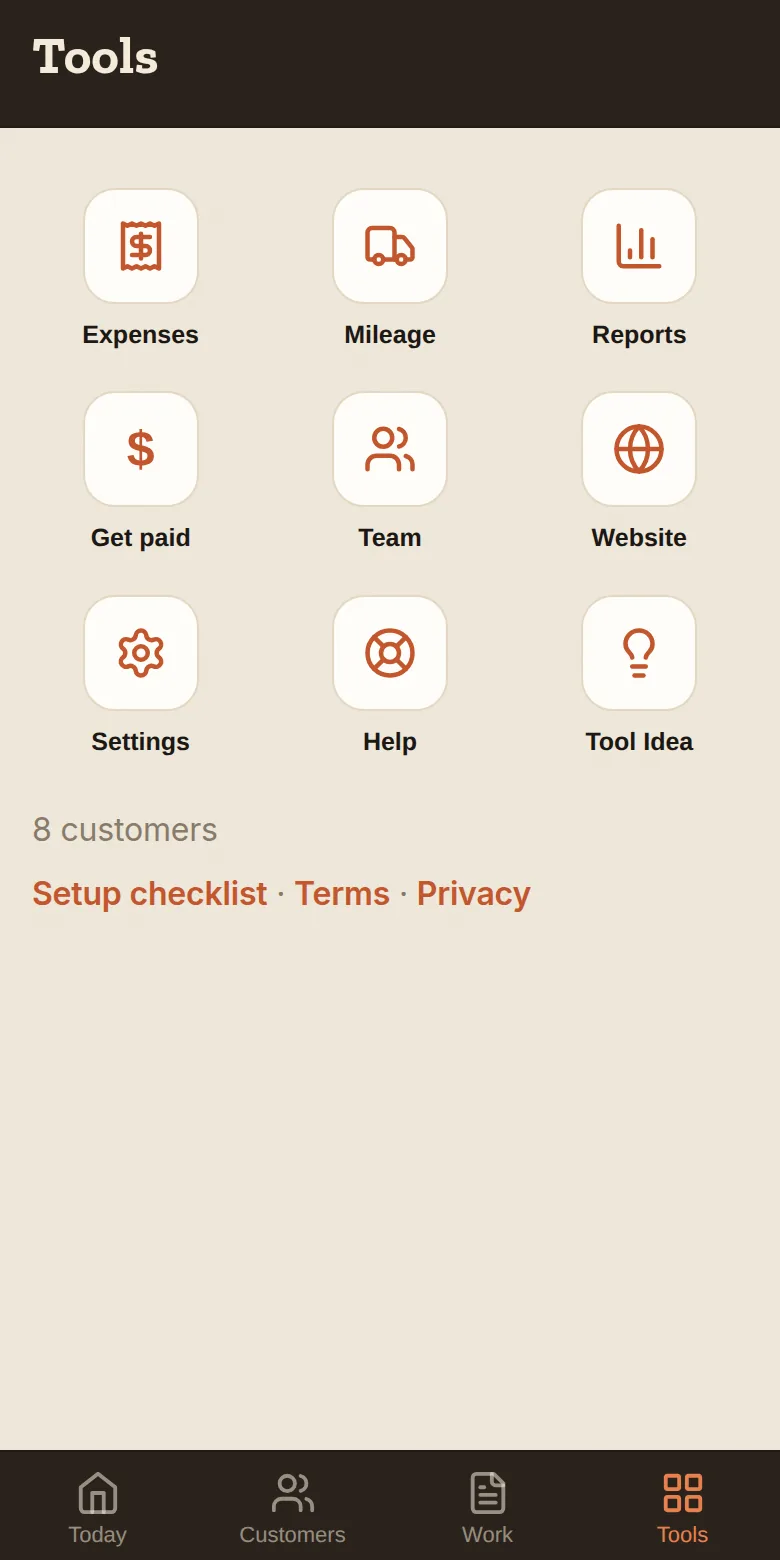
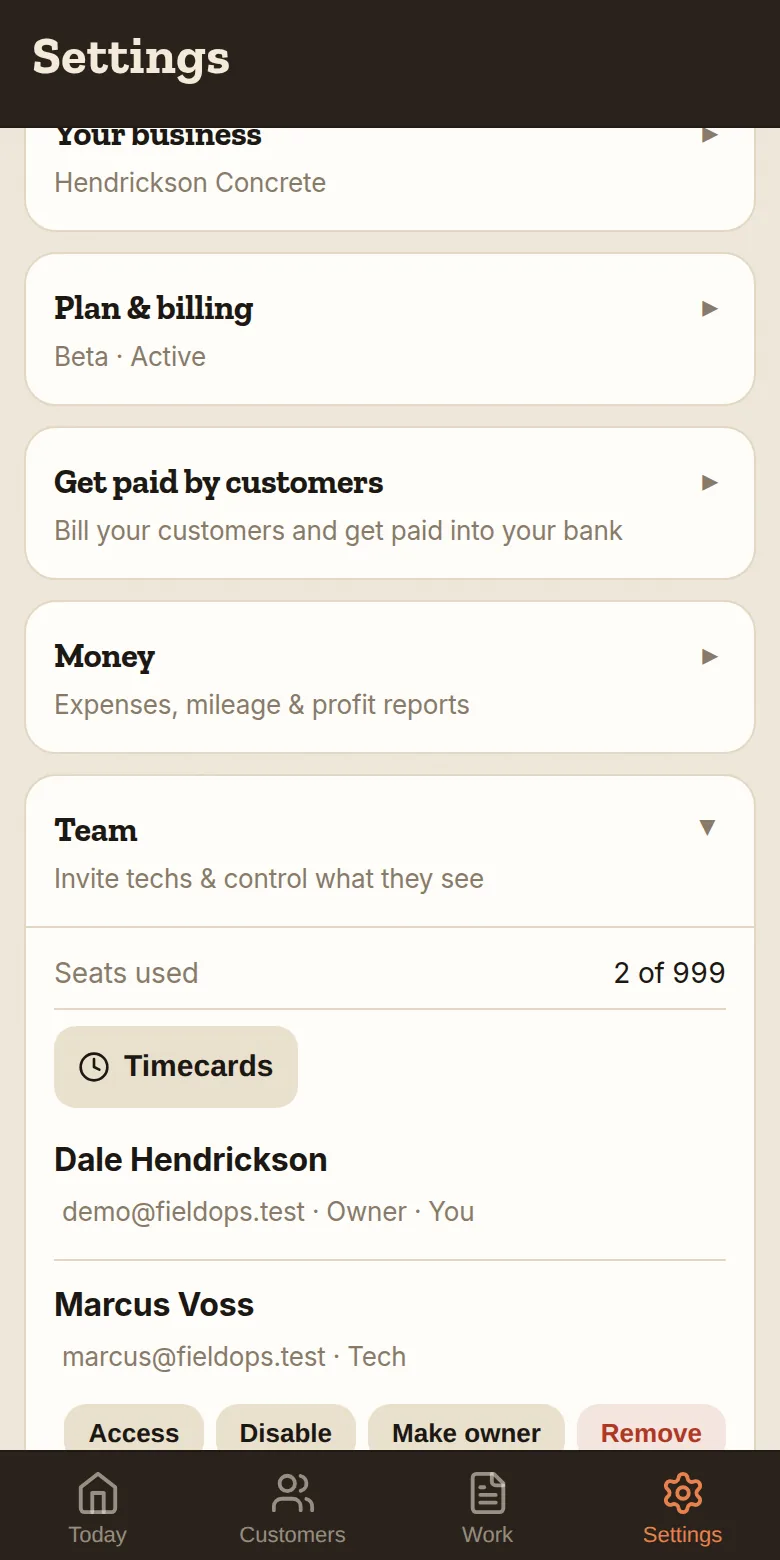
- ToolsEverything that isn’t the day’s work, one tile each: Expenses, Mileage, Reports, Get paid, Team, Website, Settings, Help (this page) — and Tool Idea, for telling us what’s missing.
Send a quote
- Go to Jobs and tap + New (or open the customer and start it from there).
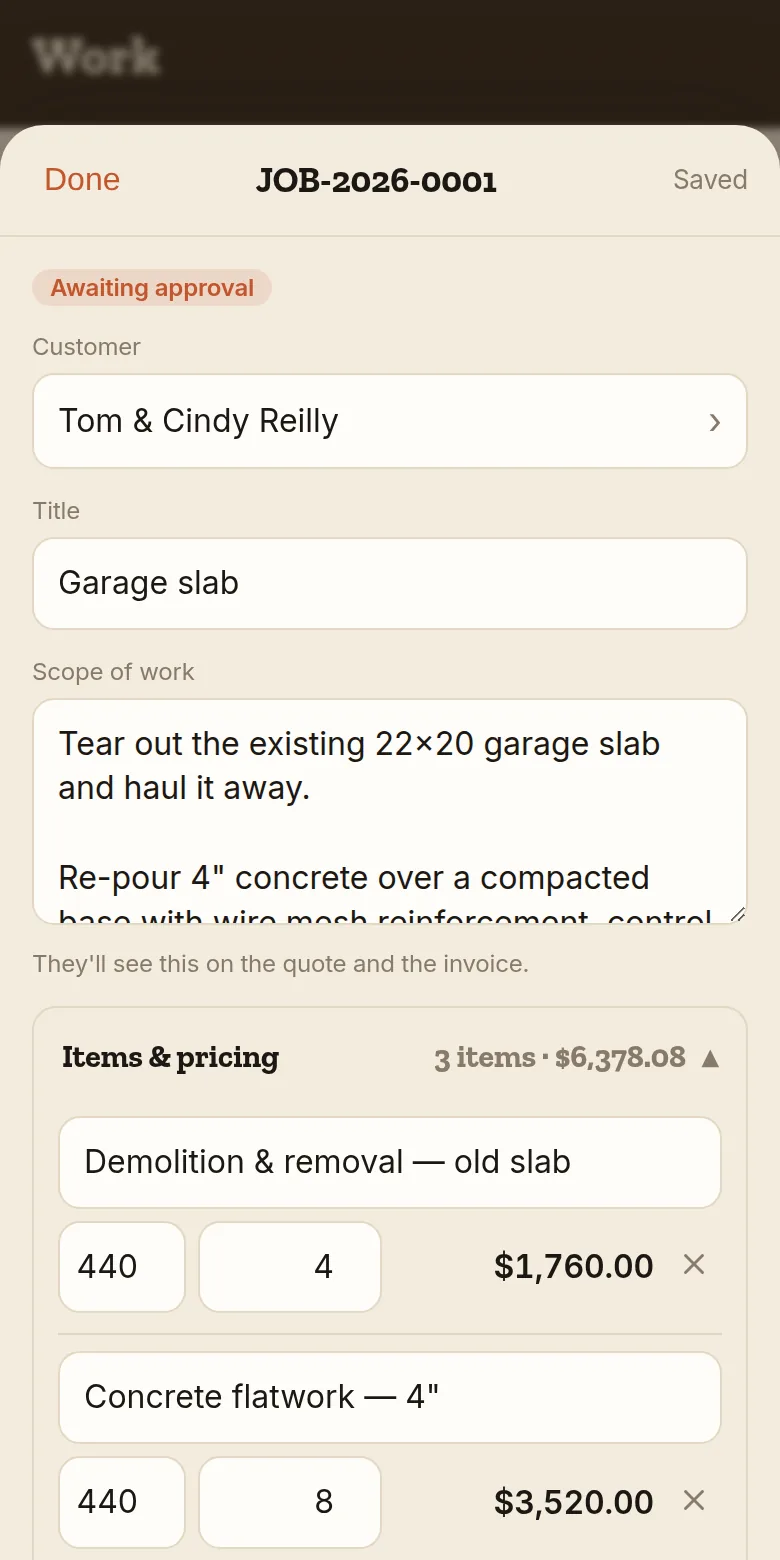
- Open Scope & price — the first line on the job — and add your line items. Type them in, or tap + From price book and just tap the ones you need. The total updates as you go.
- Use Scope of work, at the top of that same line, to spell out what the job actually includes — that goes on the quote your customer reads, on the invoice, and on anything you print. Private notes further down is yours: gate codes, who to text, what the dog’s called. The customer never sees it.
- Tap Save, then send it. Text it and Email it open your phone already addressed to that customer, with the message and the quote link written for you. Send the PDF sends the quote as a document on your letterhead — that one goes through your phone’s share sheet, so you pick the app and type who it’s going to. (An email opened from a link can’t carry an attachment, which is why those are two buttons and not one.)
- The customer opens the link and taps Accept. You’ll see it flip to accepted on your Jobs tab.
- Scope & price stays where you left it. Months later, on a job that’s been done and paid, it’s still the first line — one tap to re-read what you promised and what you charged. Your crew can read the scope too; they never see the prices.
Set up my price book
Your price book is your services with your prices — build a quote by tapping instead of typing.
- In any quote, tap + From price book.
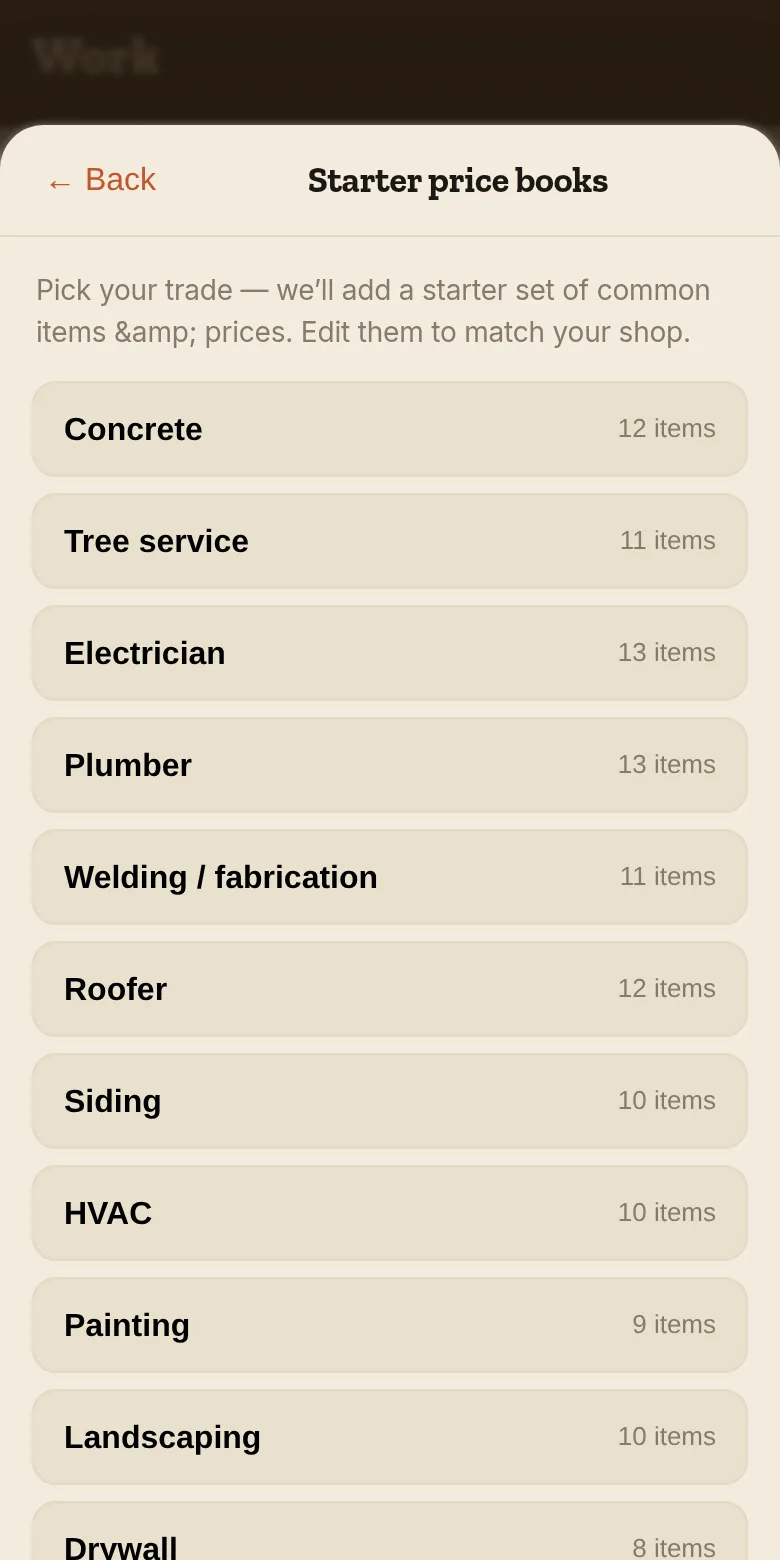
- First time? Tap Load a starter price book and pick your line of work — concrete, plumbing, electrical, house cleaning, janitorial, pest control, junk removal, and two dozen more.
- That drops in a starter set of common items with ballpark prices. Edit any item (✎) to match your numbers, delete what you don’t do, add your specialties.
Schedule the job
- When a quote’s accepted, open it on Jobs.
- Under Schedule, pick the day and the job-site address. Add a start and end time if you want the day to run in order — leave them blank and it just means “that day”.
- Coming back to finish it? Tap + Add another day. The days don’t have to be back to back — rough-in Tuesday, finish Friday — and the job shows up on every one of them.
- On a team plan, assign it to one of your techs — they’ll see it in their own view.
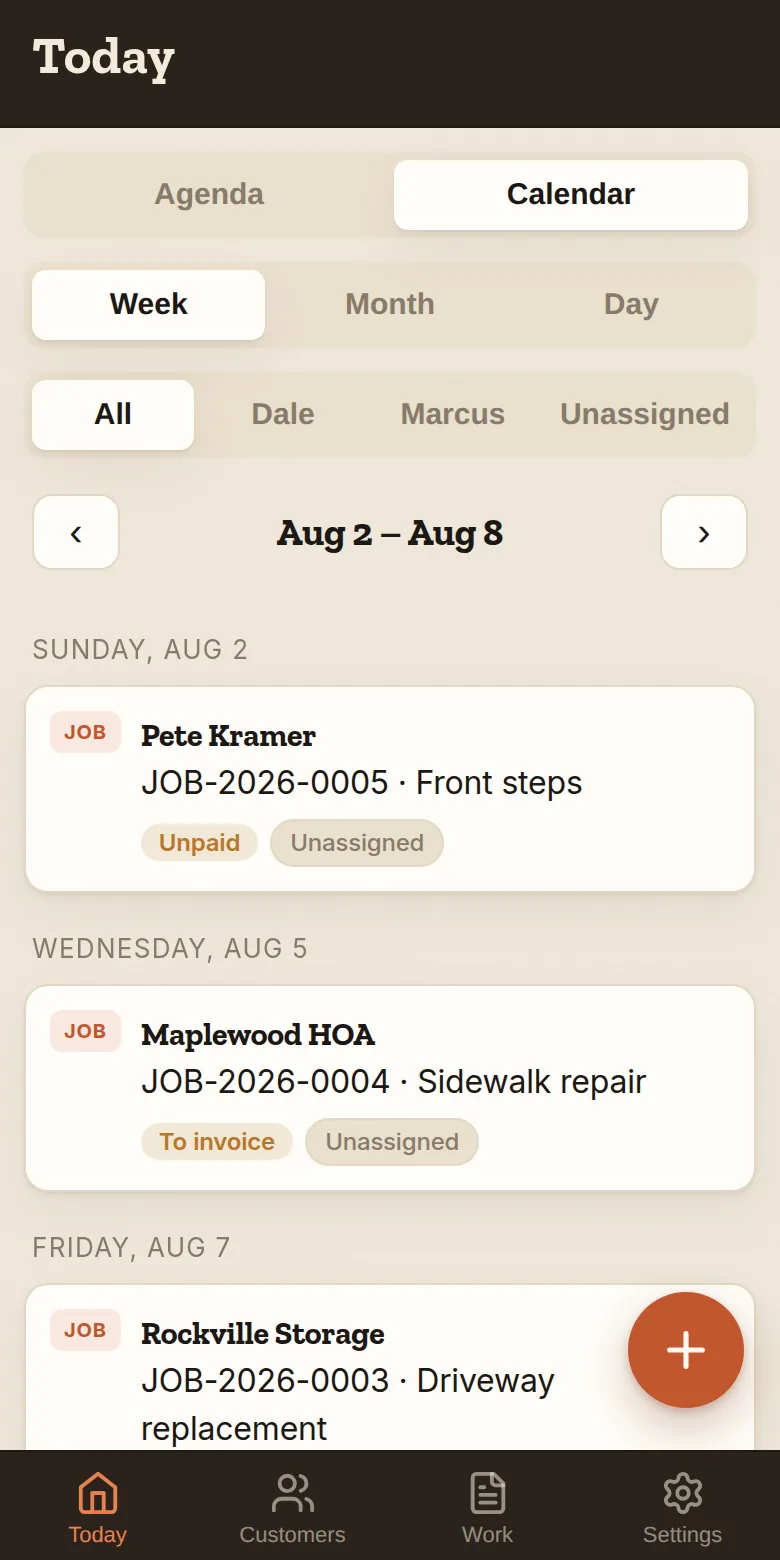
- It shows up on Home the day of, and on the calendar — tap Week or Month at the top of Home to see further out.
A job with more than one address
- Some work has two ends: load here, unload there. Open the job, tap + Add to this job, then Add a stop. The address already on the job becomes the first stop, and you type the second.
- Name them whatever you call them — Load and Unload, Pickup and Drop, Drop 1 and Drop 2. Add as many as the job has.
- Your quote and invoice say the route, so the customer reads back the same move you priced.
- Schedule it the way you schedule anything — a day, and a time if it has one. The stops are the route the crew drives that day; you don't assign days to stops.
- Tap the pin beside a stop to open it in your phone's maps app.
- Plan the run puts every stop of the day in order, measures the leg between them, and hands the whole thing to Maps.
Time that isn’t a job
- Shop days, a truck in for service, an office afternoon — real time you plan around. On Home, tap the + button, then Block out time.
- Say what it is (“Shop / fabrication”, “Vehicle maintenance”, or whatever you call it — type your own and it’s offered back to you next time), pick the day, and add times if it matters.
- On a team plan you can put it on one person’s calendar, or leave it for nobody in particular.
- Logging those hours works the same way: on your timecard, leave the job blank and name the kind of time.
Invoice the job & get paid
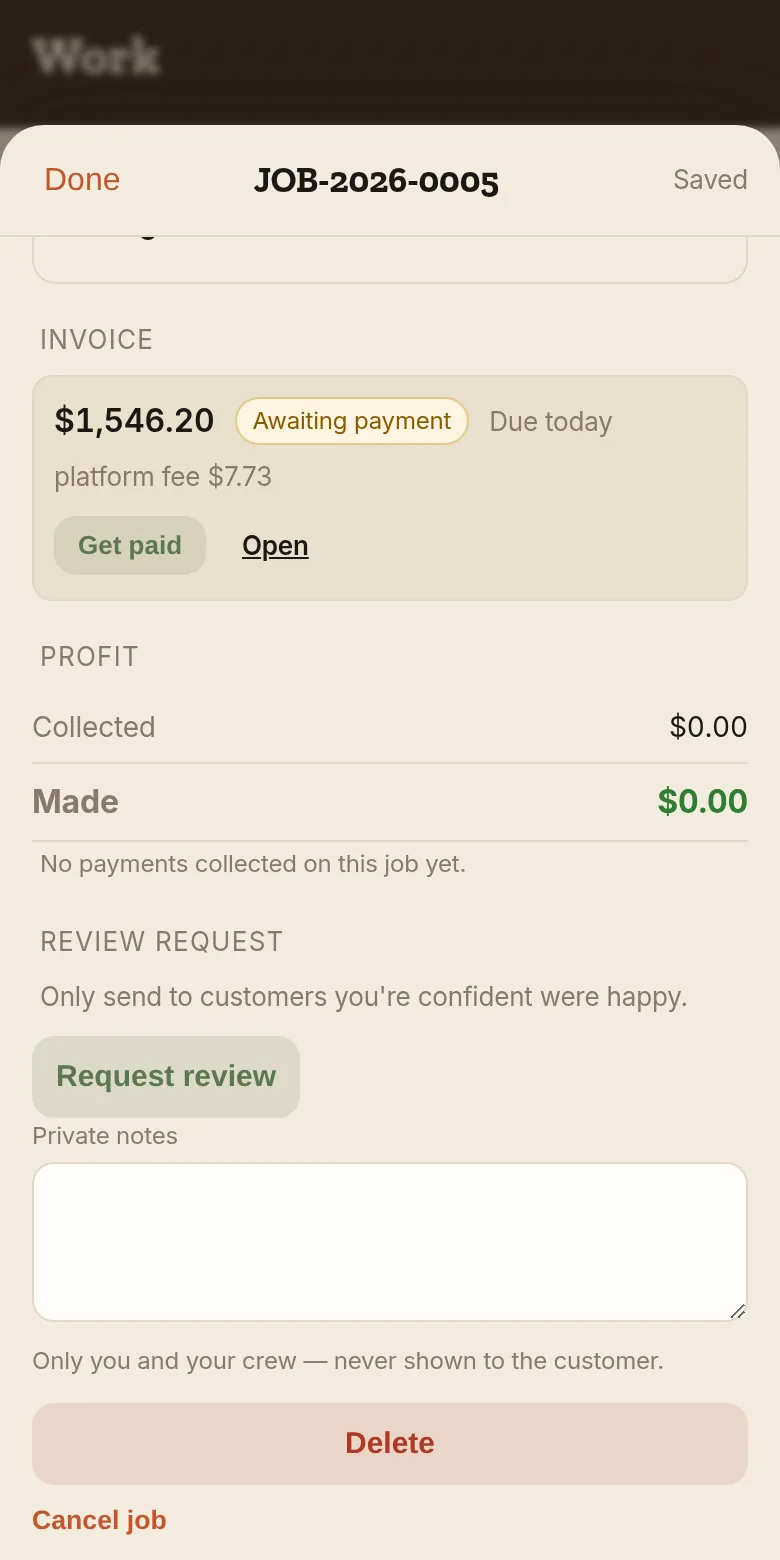
- Open the finished job and scroll to Invoice, then tap Create invoice — the amount is on the button, so there’s nothing to confirm.
- It asks how they’re paying. Text it and Email it send the secure Stripe link, already addressed to that customer. Send the PDF sends the invoice itself as a file, which lands in an email as a real attachment. If they just gave you cash or a check, tap Paid cash or Paid by check right there.
- No email address on file? The send screen says so and takes one — type it once and it’s on that customer from then on.
- Pay by card and the money goes straight to your bank (about 2 business days); the job flips to Paid by itself. Cash and check close it out the moment you tap.
- Tapped the wrong one? Undo on a cash or check payment puts it back to owed without writing a refund you never gave.
- Invoices are due on receipt unless you say otherwise — there's a Payment due picker right above Create invoice (Net 7, 14 or 30). Whatever you pick becomes the default for the next one.
Connect my bank (one-time setup)
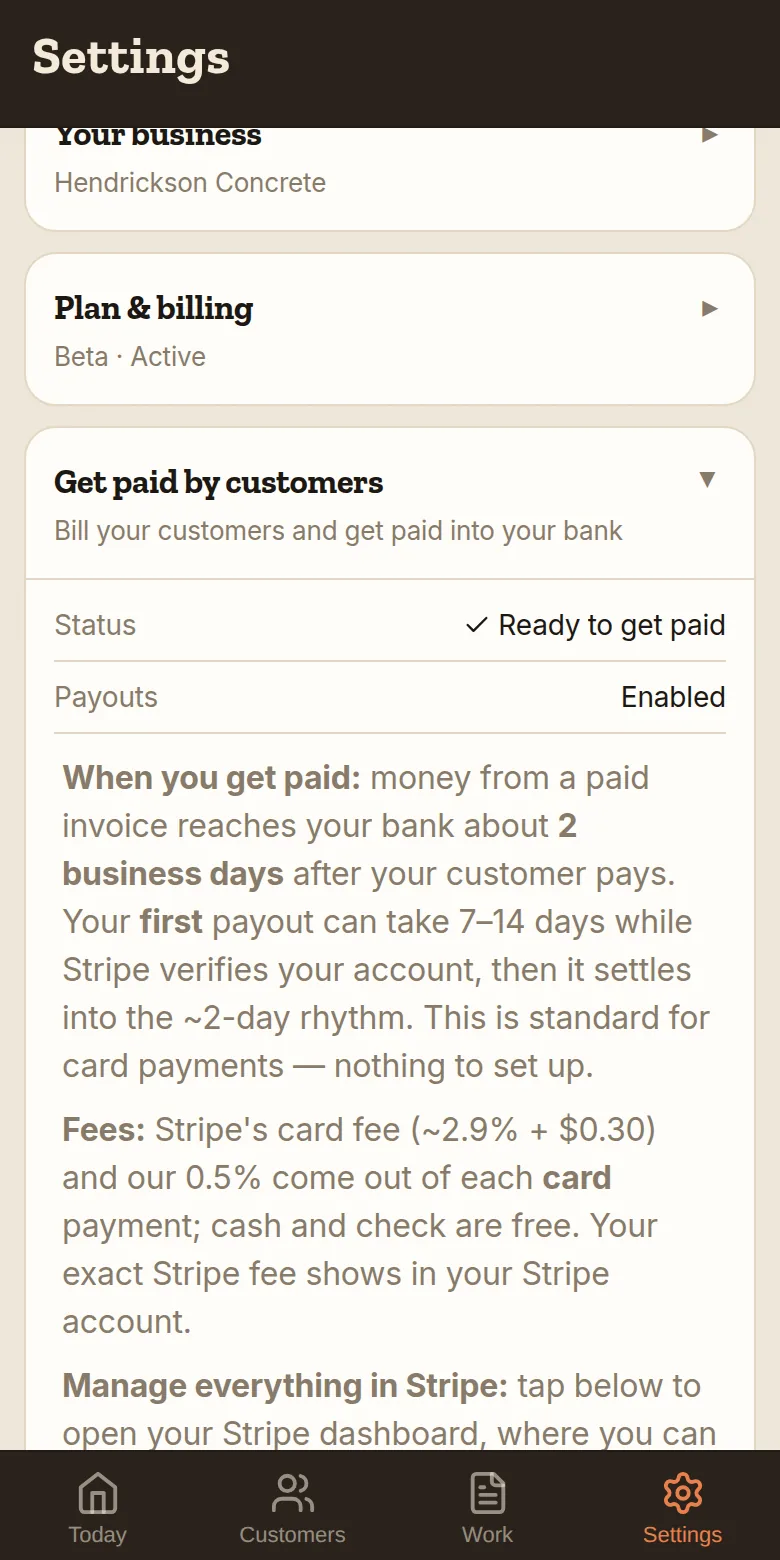
- Go to Tools → Get paid.
- Read and check the agreement, then tap Set up payments.
- Stripe (the same payments company behind Amazon and Shopify checkouts) walks you through a secure page: your business info, ID, and the bank account payouts should land in. Takes a few minutes.
- Done — every invoice you send now has a pay-by-card link, and payouts hit your bank automatically.
Track my mileage (including drives that aren’t a job)
- Driving out to a job? Open the job, tap + Add to this job, then Log a drive. The app measures it from your home base for you — no odometer maths. Log as many as the job takes; they stack up under Costs.
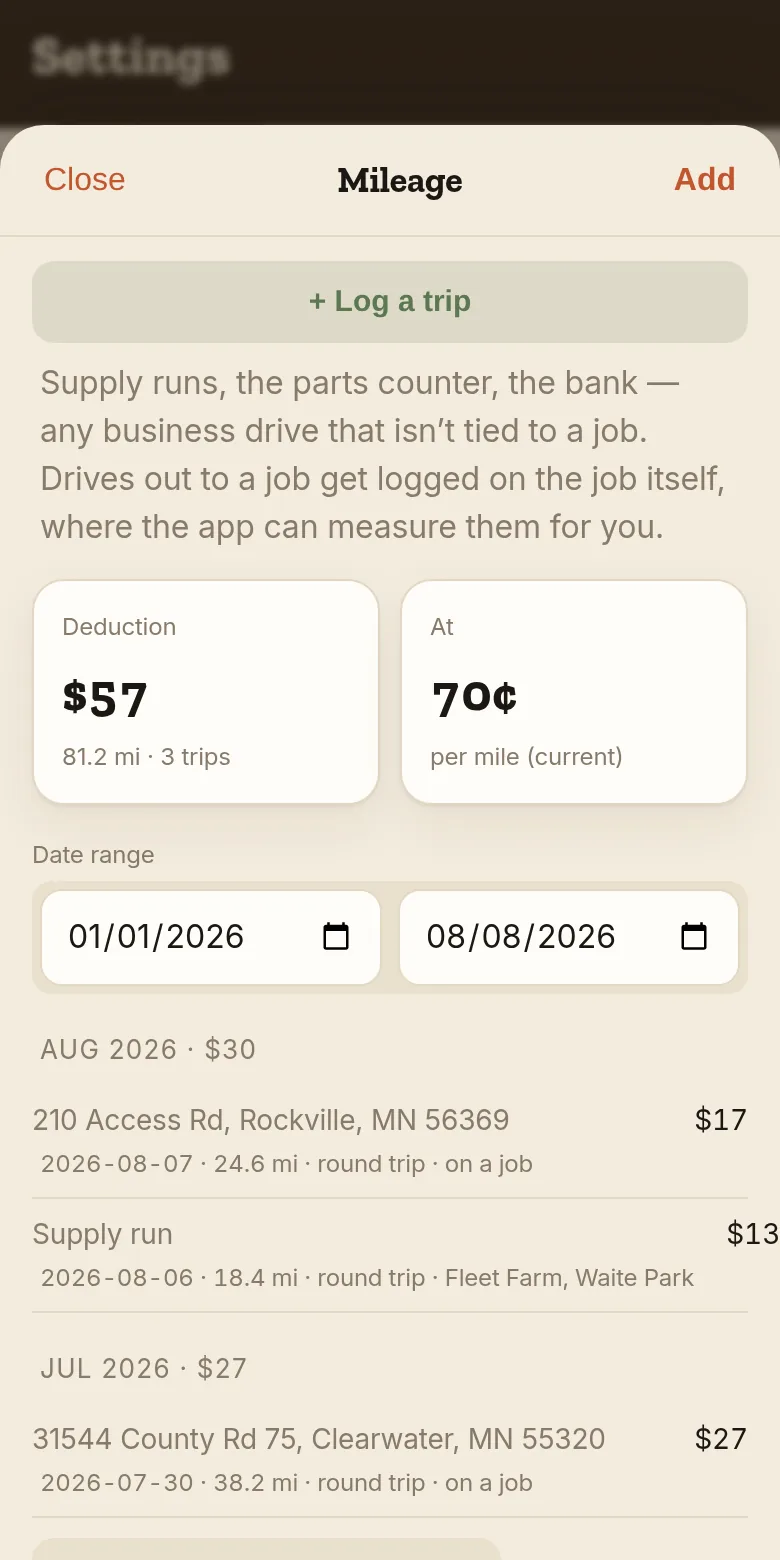
- The job keeps the miles. What they’re worth is a running total, not a per-job figure, so the dollars live in Tools → Mileage — which is where the year’s deduction and the log for your accountant come from.
- Everything else — supply runs, the parts counter, the bank, driving out to price a job — goes in Tools → Mileage, under + Log a trip. Type where you went and tap Measure the drive and the app fills the miles in from your home base, or just type the miles yourself.
- Tap a purpose chip (Supply run, Parts counter…) so the log says something an accountant can read. That line is the one an audit asks about.
- At tax time, Download IRS mileage log gives you the whole year: date, from, to, purpose, miles, rate, deduction.
Add my crew
- Go to Tools → Team (Pro and Crew plans).
- Enter your tech’s email and tap Invite — they log in with their own email, no password to manage.
- Assign them jobs from the job screen. They get a simpler, jobs-first view of just what they need.
Put my logo on my quotes & invoices
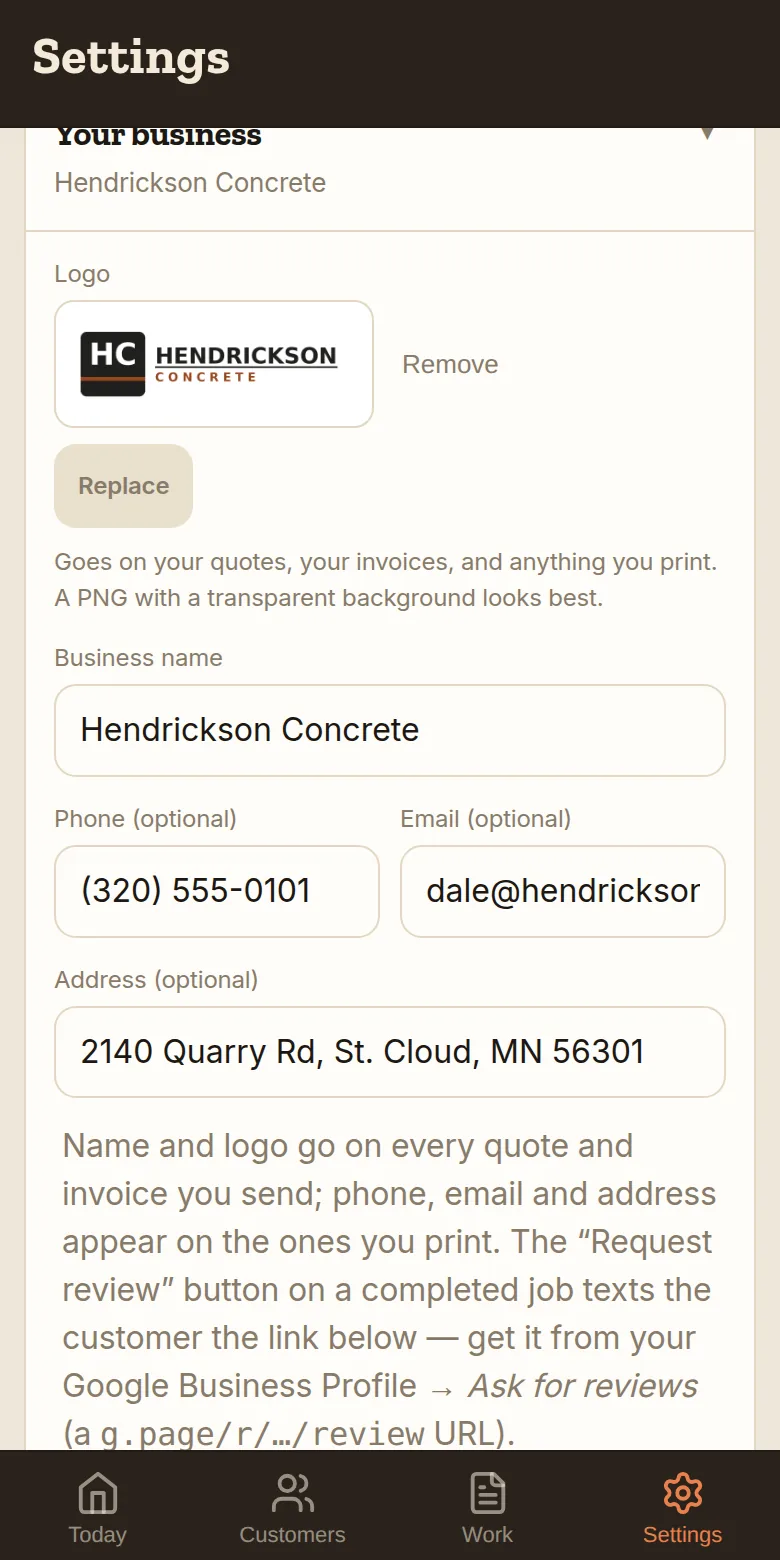
- Go to Tools → Settings → Your business and tap Logo. Pick your file, drag the frame to crop it, and it saves right there.
- Fill in phone, email and address underneath. Your name and logo go on every quote and invoice you send; these three appear on the ones you print, which is what turns a page into a letterhead.
- There’s nothing to press. Each box saves the moment you tap out of it, and you’ll see “Saved” at the bottom of the screen. The quote page your customer opens, the invoice, and every PDF and printed page all carry it from now on.
Get more Google reviews
- Grab your review link from your Google Business Profile → “Ask for reviews” (it looks like
g.page/r/…/review). - Paste it in Tools → Settings → Your business → Google review link.
- On any completed job, tap Request review — it texts the customer your link while the good work is fresh in their mind.
Log in / didn’t get my code?
There’s no password — we email you a 6-digit code each time you sign in. If it didn’t show up:
- Check spam/junk — first codes sometimes land there. Mark it “not spam” and the next ones behave.
- Make sure you typed the same email you signed up with.
- Codes expire after 10 minutes — just request a fresh one.
- Brand-new account? Signups get a quick human once-over first — you’ll get an email the moment you’re approved, then your code will come.
Export my data
Your data is yours, full stop. Tools → Settings → Your business → Export customers downloads a CSV that opens straight in Excel or Google Sheets — use it as a backup or to take with you.
Install on iOS
- Open this site in Safari (it has to be Safari, not Chrome).
- Tap the Share button — the square with an up-arrow, at the bottom.
- Scroll down and tap Add to Home Screen.
- Tap Add (top right). The Field Ops icon lands on your home screen.
Install on Android
- Open this site in Chrome.
- Tap the ⋮ menu in the top-right corner.
- Tap Install app (or Add to Home screen).
- Tap Install / Add. The icon lands on your home screen.
Do I have to reinstall for updates?
No. Field Ops updates itself. When we ship an improvement, the app picks it up automatically the next time you open it — your home-screen icon and login stay exactly where they are. You never delete and re-add it.
Plans & payments
- 14-day free trialNo card required. Try the whole app; you only pay when you’re sure it helps.
- Solo $29 · Pro $79 · Crew $149 / moSolo is just you; Pro adds up to 5 on your team; Crew up to 10. Annual billing = 2 months free. Everything’s included — no add-ons.
- Getting paidConnect your own bank through Stripe and send customers a secure payment link — money goes straight to your account. Our fee is a flat 0.5% per payment, plus Stripe’s standard card processing.
- VeteransVeteran-owned — and veterans get 25% off for life. Email us to verify your service and we’ll send your code.
Ask for something the app doesn’t do yet
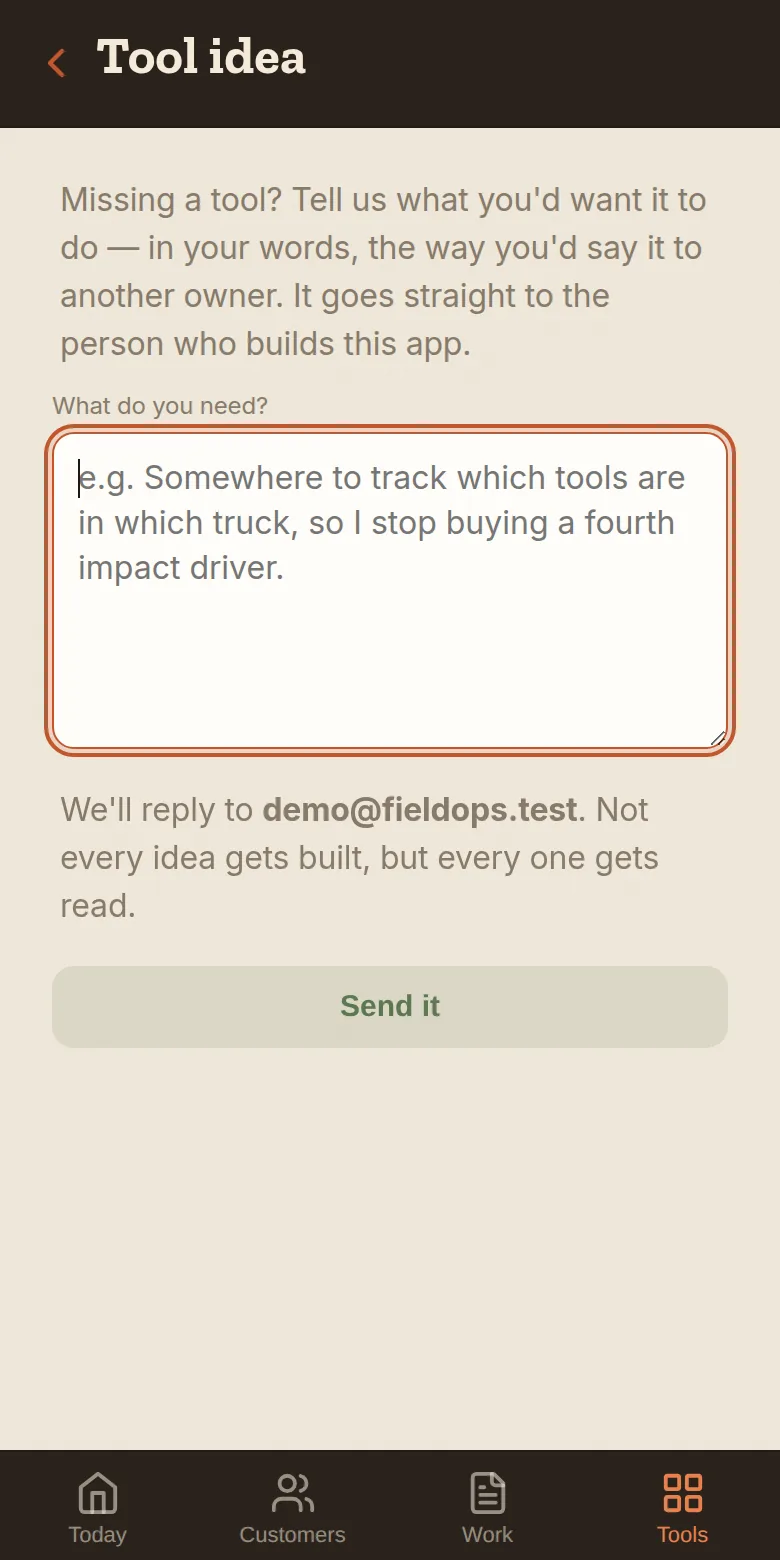
- Go to Tools → Tool Idea.
- Say what you need in your own words — what it should do, and what it would save you.
- Tap Send it. It goes straight to the person who builds this app, and the reply comes back to your login email.
Need a hand?
Stuck on anything — installing, a feature, billing? Email info@missioncriticalit.org and we’ll get you sorted. You can also pull the setup checklist back up anytime from Tools → Setup checklist.